Showing posts with label DIY. Show all posts

December 19, 2014

Getting Ready for Christmas - Decorating with Nature

Welcome to our home! I'm so glad you're here.

I almost didn't decorate our home for Christmas this year.

But I'm glad I did.  

Decorating for the season gives me the chance to pause and think what really matters. So, I gathered all the pretty things I could find around our home and went on a mission to cozy up this place. 

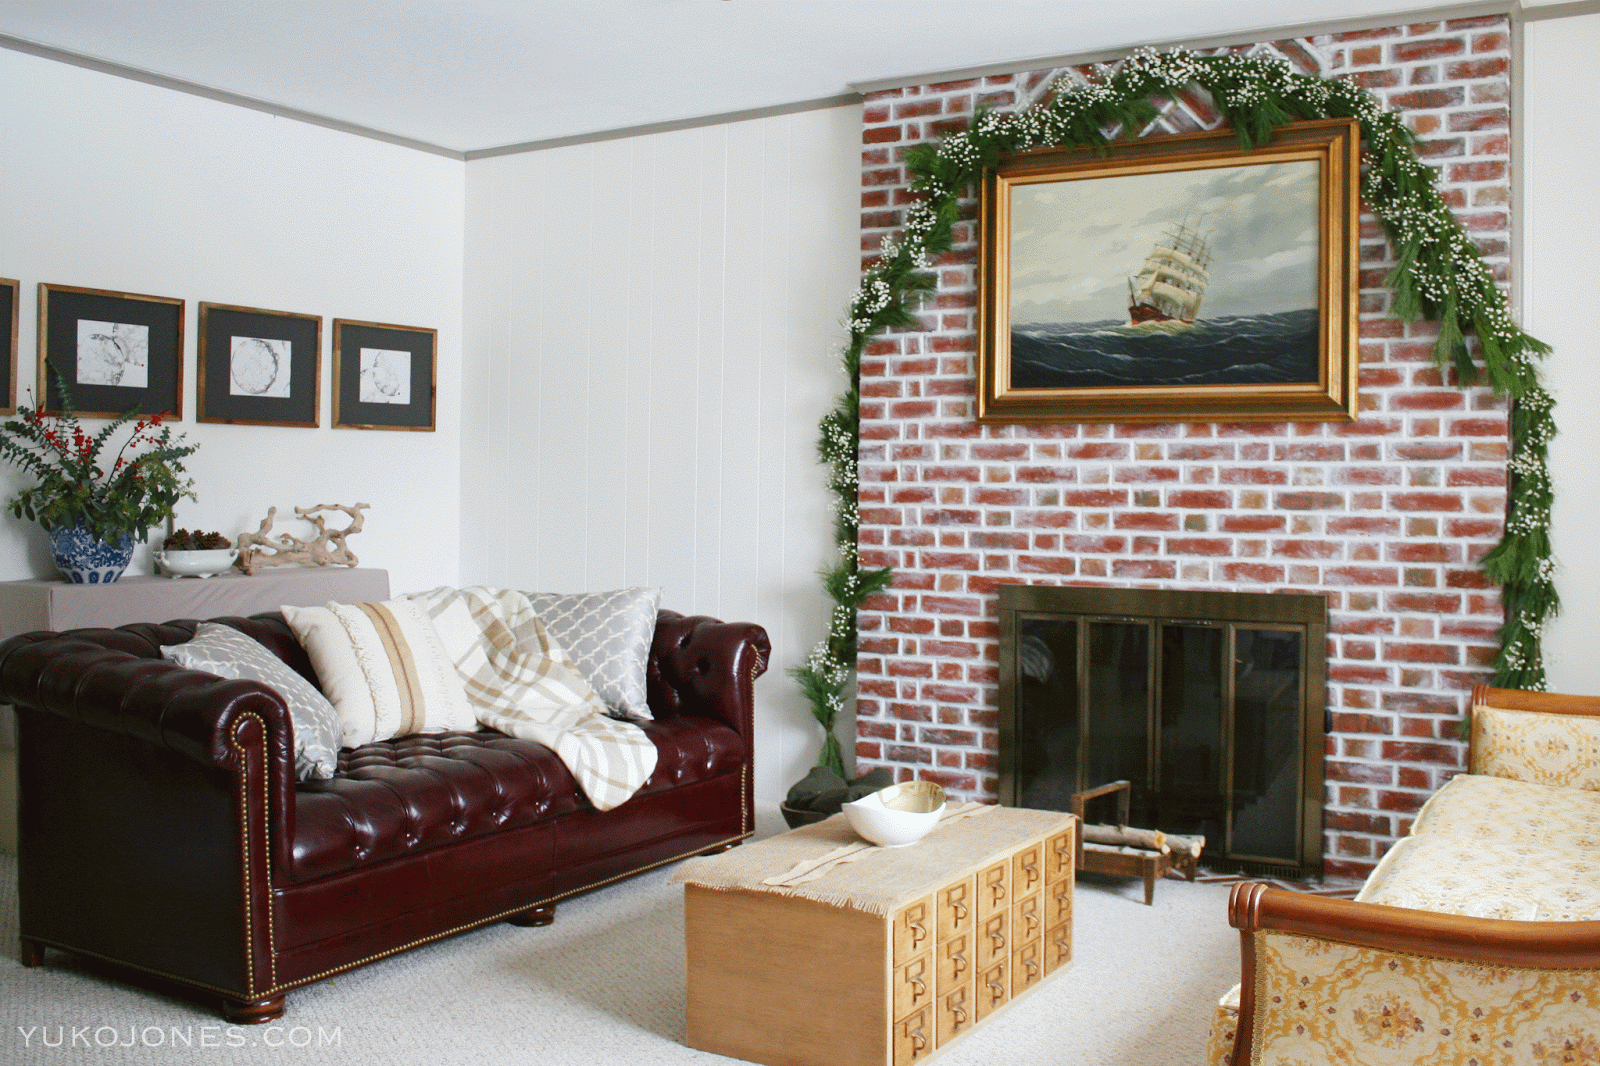
This is our family room, where we spend most of our time together as a family. 

Do you see the library card catalog turned into a coffee table up there? I just brought it into the room hoping that could stay, but our boys have already bumped their heads twice while wrestling. I might have to send it back to the basement...


I used baby's breath for the first time last year, and I'm using it again this year. It's so delicate and it looks as if fresh snow has fallen all over the room. 


It's been over a year since I painted the brick fireplace, and it's held up great. And if I ever need to do a touch up, I just need to pull out two cans of ASCP and a piece of paper towel. It'll be a very quick and easy fix.


I feel most comfortable when surrounded by natural elements. I used grape wood, pine cones, feathers, eucalyptus and winter berries to create this nature inspired vignette. I still like the DIY bubble art in the gallery display, but I might change them up for something different in the new year. 

I covered the low bookshelf filled with the boys' toys and books with a table cloth. I already took the cloth off the shelf, but this is something I can quickly throw back on when we have guests over. 

And this reminds me of something I often forget. We don't always show all of our messes to other people.  

Some days I wonder why I can't even manage my own kitchen sink while everyone else's life seems so perfect. You can't compare your inside to someone else's outside. I have to remember that this holiday season. 


An assortment of eucalyptus and winter berry arrangement in an antique ginger jar. I went to Trader Joe's and spent $14 for the entire arrangement. You don't have to spend an arm and a leg to create a statement piece.

I smell the Eucalyptus and cinnamon scented pine cones every time I walk by this corner.


Our TV gallery wall today. 

I sold a few of my original artwork that was part of the display, including the pineapple art (this one is a print). After staring at the blank frames for a few weeks, I decided to fill them with the art prints from the shop. 

I also did quick calligraphy art with watered down charcoal ink and added to the collection. You can see what the gallery wall used to look like here. 


A simple winter berry arrangement in a white creamer. 


Our Christmas tree is decorated with white branches, baby's breath, and our usual Christmas ornaments. We're going to add our personal ornaments to the tree and bake some cookies this weekend. It's going to be fun! 

There's an angel at the top of the tree, but I couldn't have it fit into the photo without having the sofa getting in my way (my husband just gave me an eye roll).


The decorated deer antlers paired with my favorite art print and nativity scene. I only took a few pieces out of the entire nativity set this year. I wanted to keep it simple.

And a few pictures from our entryway. 


I kept the white pumpkins from our fall decoration.


A simple evergreen wreath decorated with brown feathers and baby's breath, and the DIY painted resin bust. This is what you see when you first walk into our house from the front door. 
 

More decorated deer antlers with DIY modern art.

Decorating our home for Christmas helped me put things in perspective and focus on what I can be grateful for instead of what I don't have.

No matter where you live and where you are in life, may you find the light of hope shining through the darkness of night. May you find some slow and quiet moments to unwrap the gift of love this season offers. 

Thank you for stopping by. Wishing you a happy and relaxing holiday season! 

 xoxo

November 24, 2014

Getting Ready to Open The Shop

Hello friends!

I've been a busy bee preparing to open my Etsy shop. 

I'm literally spending my every awake moment painting like a mad woman, except when I'm with my boys, cooking, folding laundry, or sleeping. 

Note that I didn't say "cleaning." Cleaning has gone to the bottom of my priority list, and our home looks, less than well... desirable. I hope to catch up on cleaning before Thanksgiving.

Today, I wanted to share some of the artwork I've recently created for the shop. These are my grainy Instagram photos, but you get the idea :)

I'm turning them into prints. What do you think?


Shop opening announcement coming soon. Please stay tuned! 


* * *
In the meantime, I managed to do a teensy bit of fall decorating.


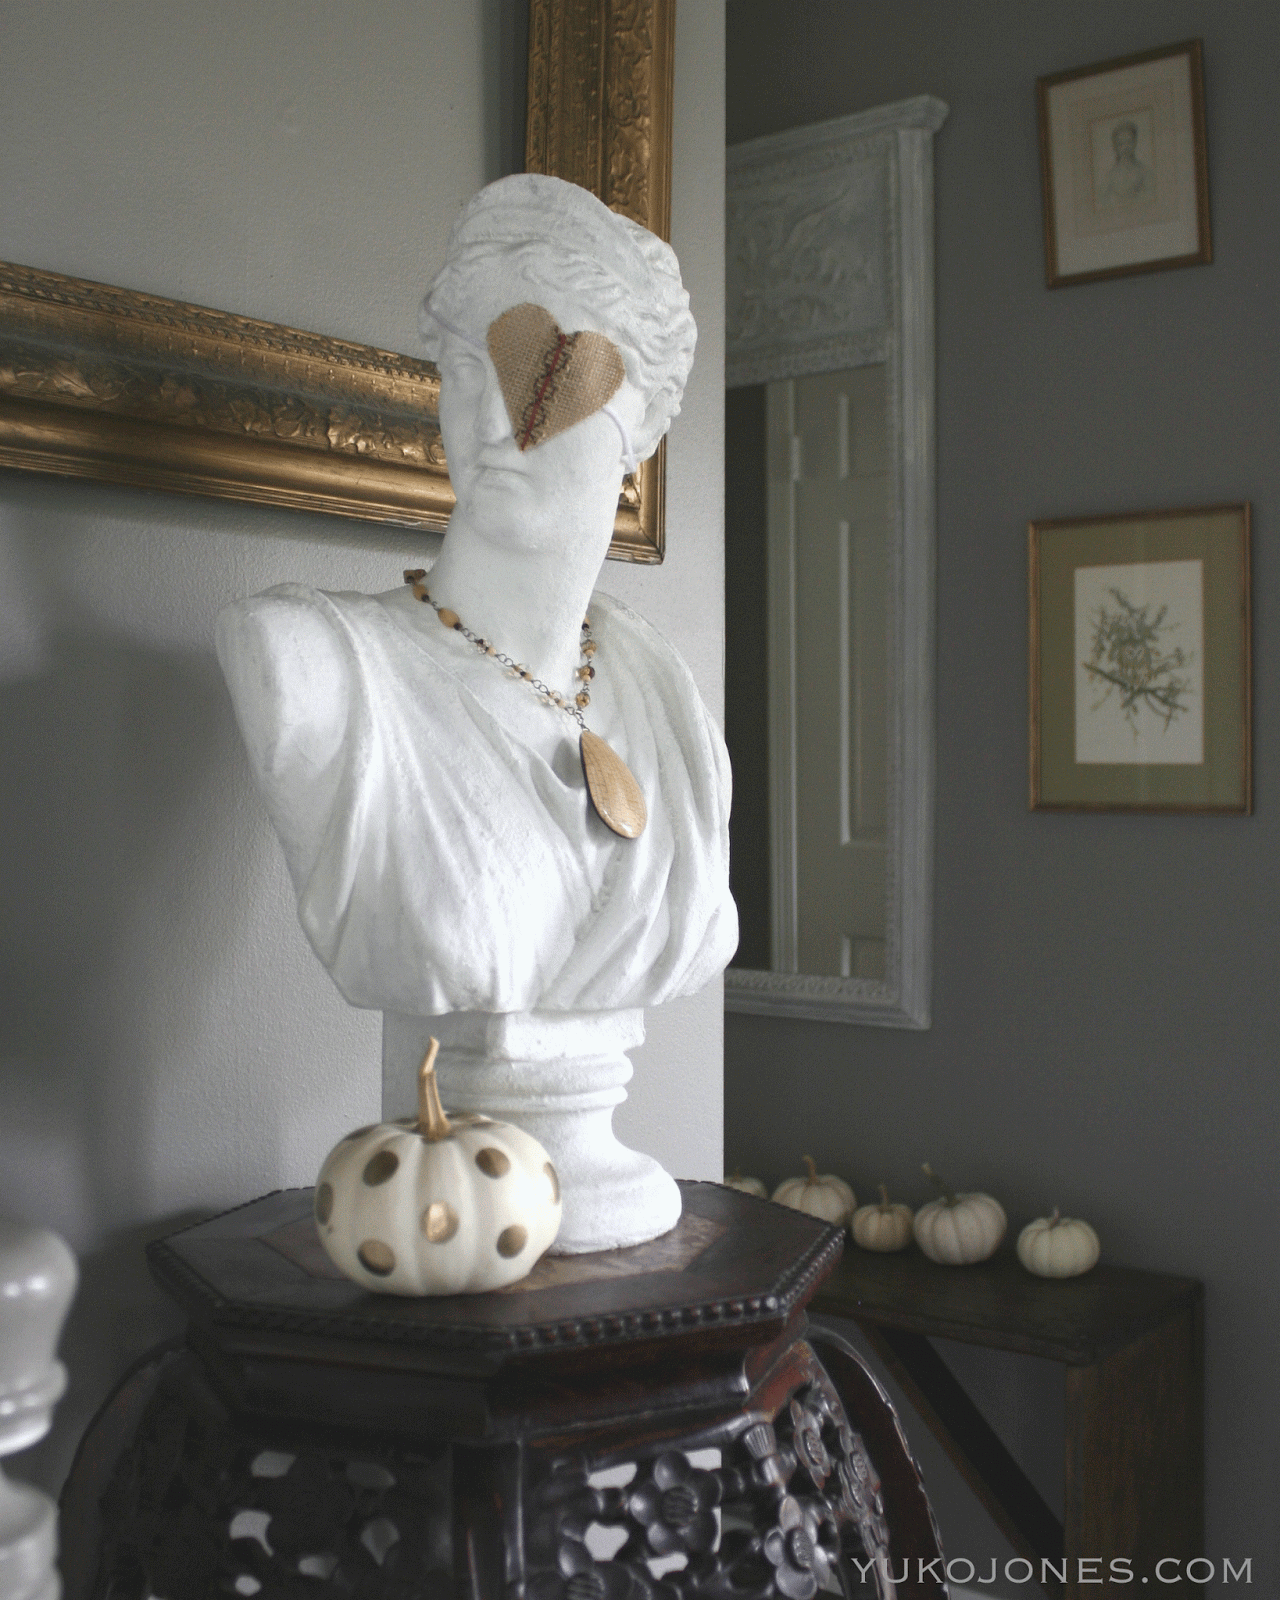
I was inspired by Myquillyn's eye-patched decorative bust and Stacey's polka dot pumpkins (and you might want to check out Stacey's gorgeous Halloween party, too!)  

So my fall decor isn't that original. I guess I used up the "originality" part of my brain when I was painting! But I put my own twist to them and wanted to share with you how quick and easy those projects were. 

This polka dot pumpkin.


I just used this oil-based paint pen in gold to paint the polka dots. Make sure to let the dots completely dry before touching the pumpkin. I ended up smudging a few parts because I was impatient. It only takes a few minutes for the paint to dry.

And this burlap eye patch.


I just cut a piece of burlap ribbon into a heart shape and applied the fabric glue all around the outline to keep it from fraying. Then I attached a piece of white yarn to the burlap using the same glue.


I better go back to do more painting now! 

Hope you have a wonderful start to the week.


July 28, 2014

How to Unleash Your Creativity

I did something a little out of the ordinary this past week. 


I took a watercolor workshop. 

I've used watercolor in my artwork (you can see them here), but I've always combined it with other media. I was never comfortable enough to use this medium alone. It was time for me to get it right and expand my creative repertoire. 

The extremely talented artist Kirstin Malone shared with me some of the techniques and experience she has acquired over the years as a watercolorist. I've learned so much more in this two day workshop than a semester long watercolor class I took back in college. You can see some of her stunning work Here. 

Besides the watercolor techniques, I've also learned the secret to unleash our creativity. Do you want to know what that is? Embrace the Imperfections. 

2 Ways to Embrace Imperfections & Unleash Your Creativity:

1. Let go of your control. 

Unlike pen and pencil drawing, watercolor is a very challenging medium to control. Sure, you can control some details, but in the end you have to trust the water and let it do its job. 

Doesn't watercolor painting sound a lot like life? When you know what you can and you can't control, you approach life more effortlessly. You just do your best with what you can control and let the rest unfold on its own. 

       practice no. 1 | jelly beans


This is exactly what happened when I worked on this piece, jelly beans. The two colors, orange and yellow, blended beautifully on the paper while the water settled. 


I couldn't have achieved this if I overworked with the brush. The water moved the pigments around and left me a little surprise. When you let go of your control and let things unfold of their own, something amazing happens.

2. Reinvent

Since I'm relatively new to the world of watercolor, my paintings are usually, well, not that good. But I hate to give up on something I've spent hours working on. Instead of giving up or throwing a temper tantrum (also a tempting option), I try to get creative and reinvent my artwork. I take something imperfect and turn it into something beautiful.

      practice no. 2 | tomatoes + chives + pie crust


I wasn't too happy when I finished this piece - I think it's the pie crust. My husband even mentioned the pie crust was crooked and weird. Oh well.


I really liked some of the details though. I wondered how I could make this work...


Luckily, this art came alive with a simple styling. I paired it with a white frame and a Panton chair, and somehow the pie crust doesn't bother me anymore. All I needed to do was to place it in a right setting. 


       practice no. 3 | chives

This piece was a little more challenging than the one above. I was so close to put this one in a trash can. I thought this was boring and a little too pastel to my taste.


So, I pulled out my white oil pastel and wrote "embrace your imperfections" all over the background. Then I applied a light gray watercolor wash all over it. This process gave this piece a slight sepia tint and toned down the pastel hues I wasn't happy with. It also made the message pop against the darker wash. 

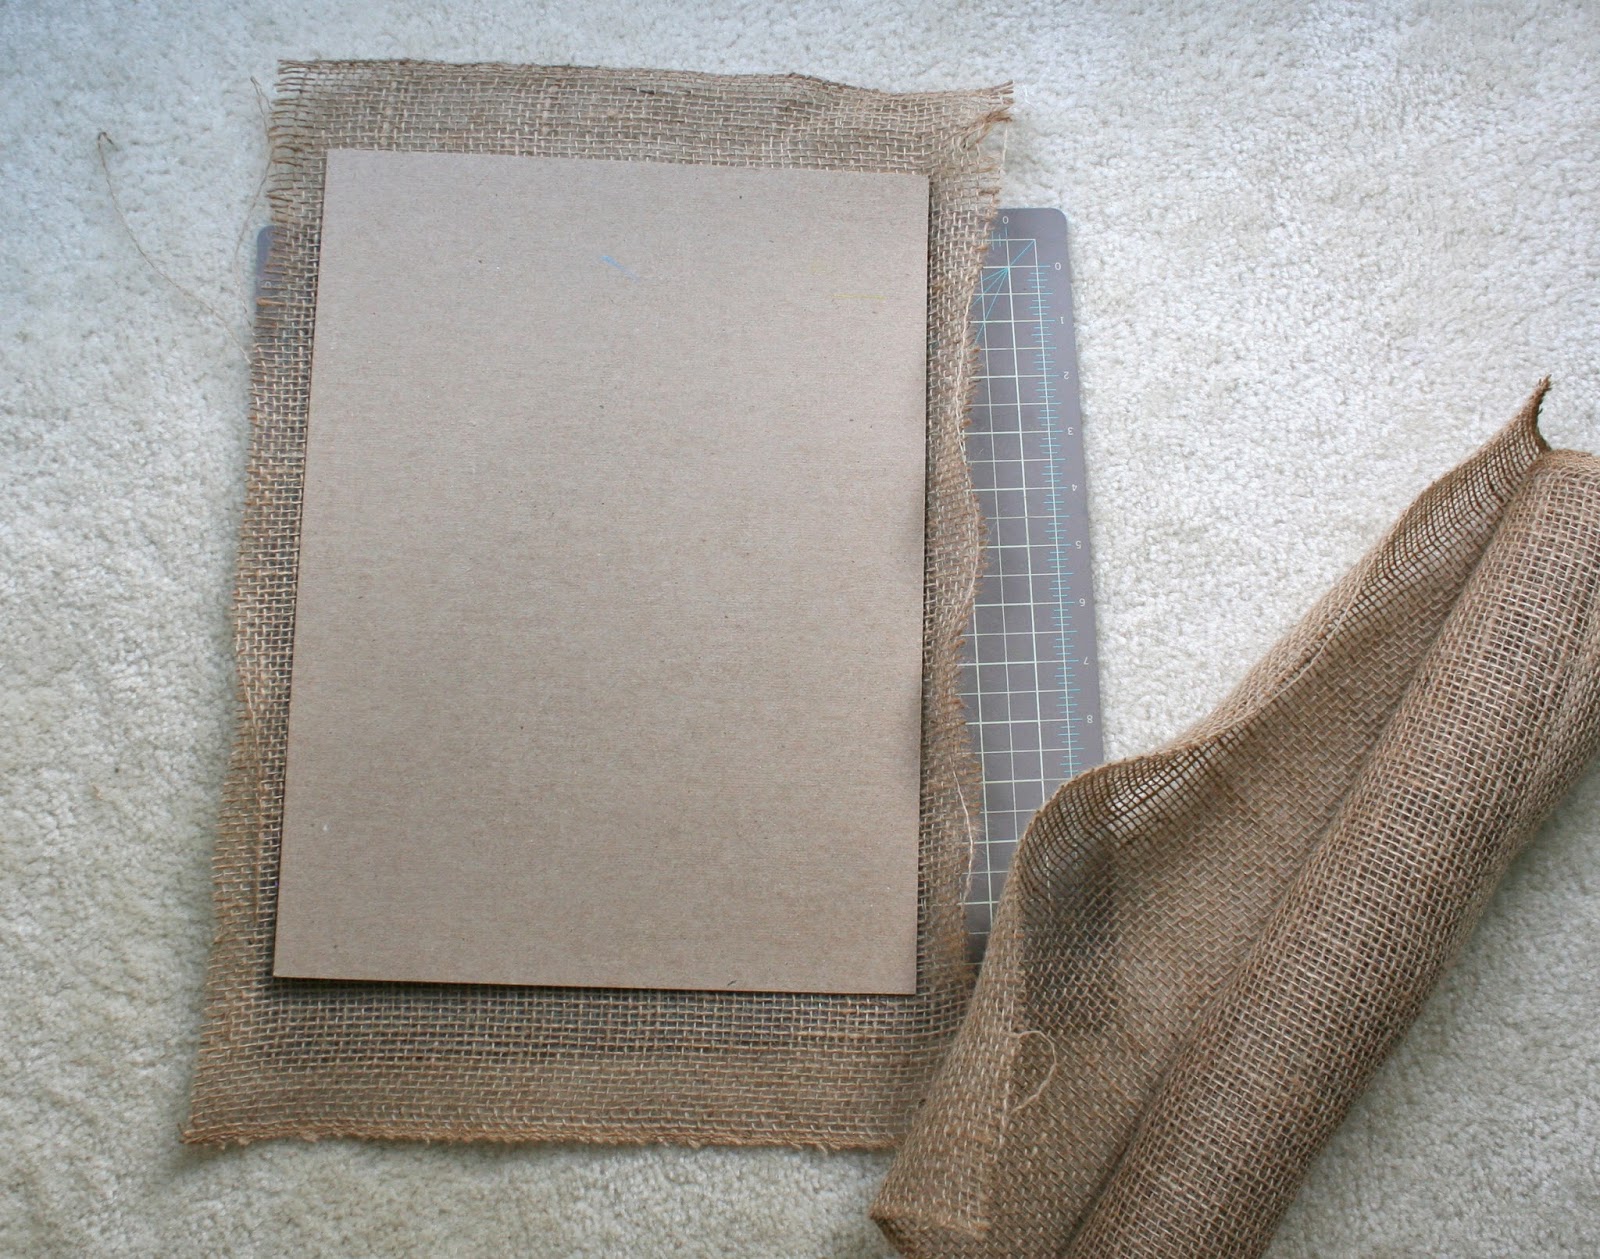
Next, I made a mat using cardboard and burlap. Once the wash was completely dry, the art was mounted to the burlap mat. 


I'm thrilled how this turned out. 


When you're ready to embrace imperfections, you finally become free from fear - the fear of making mistakes. Sure, the fear will always be there, trying to find its way to enter our soul. But when you live boldly in spite of fear, your creativity comes to the surface.

And it's okay to make mistakes. Remember, you can always reinvent the imperfections and turn them into something beautiful.

Let's roll up our sleeves, embrace imperfections, and unleash our creativity.
Shall we? 


July 19, 2014

DIY | Bubble Art

Hello!

As promised, today I'm going to show you how I created the DIY gallery wall art. It's DIY Bubble Art! I'm so excited to share this project with you. It's such a fun DIY and looks great when you group them together in a gallery display. 


As an artist, I'm always looking for unique ways to create art. My love for decorating home also motivates me to create the types of art I want to decorate my home with. When I come up with a simple art project that has a big impact and can be easily recreated, I get really excited. This is one of the ways I can share what I'm good at with others.

The inspiration for this project came from the time my boys and I painted together with bubbles. I remember it made such cool geometric shapes on paper. How I could translate that into artwork that's more refined and tasteful? 

My answer was to restrict the color palette and add shading to create some drama. 

But there's no right way to do this project and I can only give you a general guideline. So feel free to make some changes, add more colors (make them colorful!), get creative and have fun! My only suggestion is to try different ways - let it be the strength of paint or color combinations - and see if you can achieve the look that suits your personality and home decor.

Without further adieu, let's get started!

* * *
Things you'll need:
- Paper
- Dish detergent
- Plastic cup or container of your choice
- Plastic straw 
- Watercolor paint of your choice 
- Water
- Charcoal pencil (optional)  
- Paint brush to mix the paint and test the color 


Paper: I used 9 x 12 in. heavy weight drawing paper for a mat frame with an 8 x 10 in. opening, just because that's the only paper I had at hand. I thought this paper might be too thin for the project, but it worked just fine. You might want to experiment with different types of paper you have and see what works best for you. 

Container: I used a takeout food container for this project. You can use any type of plastic cup or container as long as you can blow bubbles in it. It may be fun to mix different sizes of containers to create various designs.

Watercolor Paint: I used cotman's ivory black for the black color and cadmiun red pale hue for an accent (red dots). But again, you can use any colors that suit your style and decor.


Instructions:
1. Dissolve the black paint in water. Test the mixture on paper and adjust the amount of paint until you reach the desired strength. I ended up using a lot more paint than I thought I would need, about a third of an 8ml tube to the water about one-third or less of the container. You want to have a dark, black ink like consistency or bubbles won't stain the paper.

2. Add detergent to water-paint mixture and blow bubbles. (warning: if you use a shallow container like I did, you might want to blow gently to avoid splatter.) 


3. Gently lay your paper over the bubbles.


4. Let the paper sit until the paint starts to seep through the paper. This creates a darker and more defined effect. I probably waited about 30 seconds to one minute before gently removing the paper. If you want a darker effect, you can always add more paint here.

This is how the back side looks like with the paint is seeping through the paper. 


And this is how the painted (front) side looks like. 


5.Get creative and design. I made more than 10 different designs and chose four best ones to be framed.


6. Once paint is dry, add some shading using a charcoal pencil (optional). The more contrast you create, the more dramatic your art will be. I simply traced the already darker areas with the pencil without adding too much pressure. You can always start with a lighter touch and make it darker as you go.


7. Add finishing touches (optional). I added a red dot to each piece to give it a focal point and an unexpected touch. I simply applied the paint directly from the tube to the paper. Allow the paint to completely dry and it will be ready to be framed. 


 * * *
Here are the close-ups of the framed art. They are similar yet uniquely different, which makes them perfect for a gallery wall like this. I also painted the mats with house paint, Iron Mountain by Benjamin Moore. Yes, I painted the mats with house paint using a roller. They look pretty good though, don't they? 

no. 1


no. 2


no. 3


no. 4


Grouped together.


With a simple vignette.


I'm loving the red dots. What do you think?

Have a wonderful weekend! 
xx

Related Posts Plugin for WordPress, Blogger...